How to set up Properties in Pickit:
1. Go to Admin Mode
-
Open Pickit on the web.
-
Switch to Admin mode.
-
Navigate to Workflows → Properties.

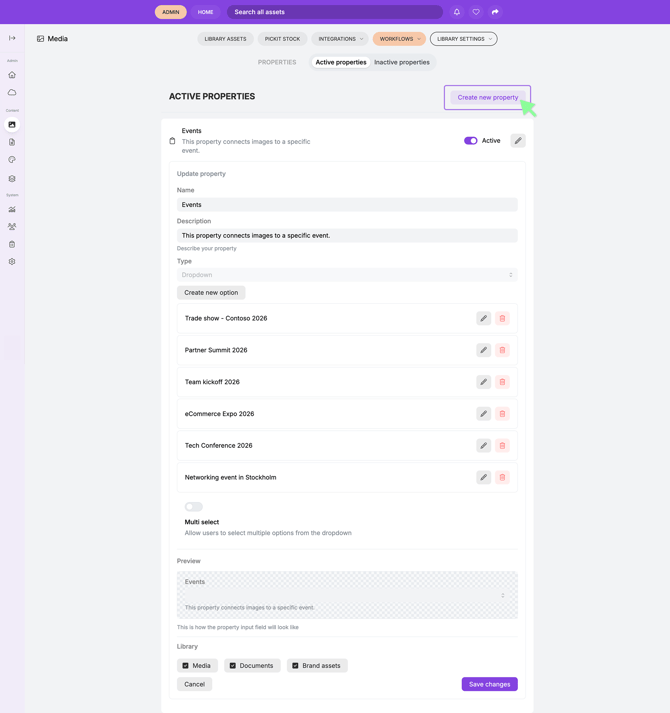
2. Create a Property
-
Click Create new property.
-
Enter a Name for the property.
-
(Optional) Add a short description.
-
Select the Property type:
-
Freetext – Adds a simple text field.
-
Checkbox – Adds a checkbox option.
-
Dropdown – Adds a selectable list of options.
-
Date – Adds a calendar date picker.
-
3. Choose Library
-
Select which library the property should apply to:
-
Media
-
Documents
-
Brand Assets
-
4. Click Save to create your property.
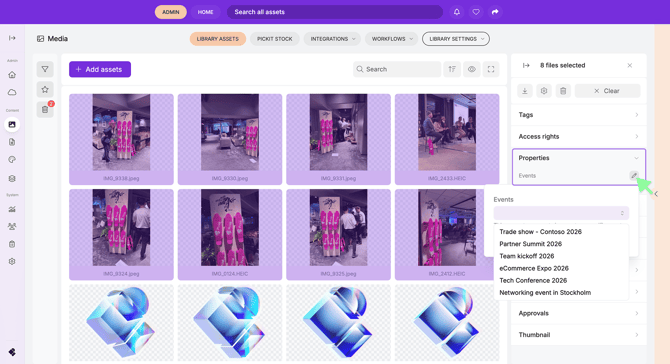
Add a Property to Files
Once the property is created, you can assign it to files:
-
Open the file(s) you want to update.
-
In the right-hand panel, locate Properties.
-
Enter or select the relevant property value.
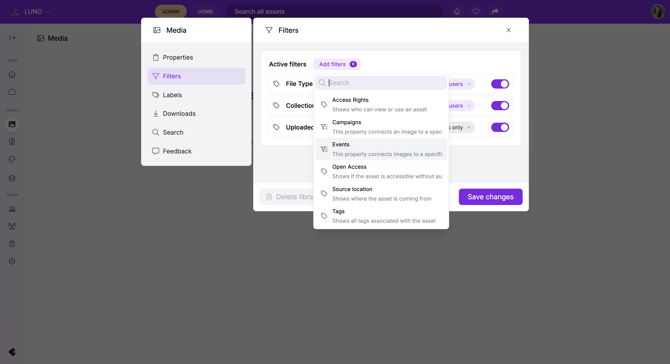
Make a Property Available as a Filter
To make a property visible as a filter for end users:
-
Go to Library Settings.
-
Select Filters.
-
Activate the property to make it visible to end users.